DIY Tile and Grout Cleaning Guide – Tips for Sparkling Floors
Introduction
Clean tile and grout can significantly enhance the appearance of any space. In this ultimate DIY Tile and Grout Cleaning guide, we will explore the importance of maintaining sparkling floors and provide you with valuable tips and techniques to achieve the desired results.
I. Understanding Tile and Grout:
Before diving into the cleaning process, it’s essential to understand the different types of tiles and the purpose of grout. This knowledge will help you choose the appropriate cleaning techniques and products.
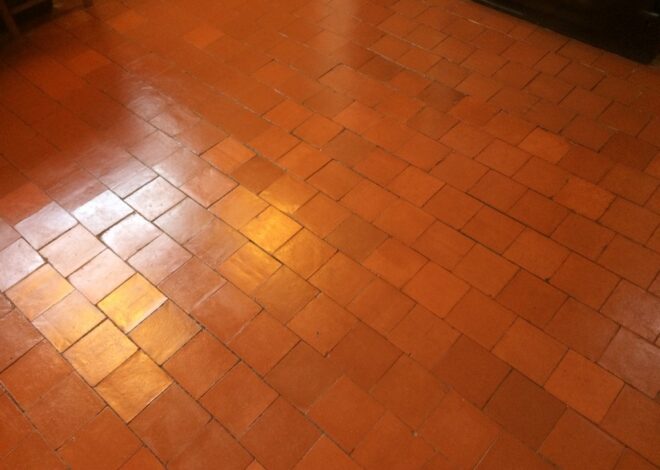
Tile surfaces come in various materials, including ceramic, porcelain, natural stone, and more. Each type requires specific care to ensure their longevity and appearance.
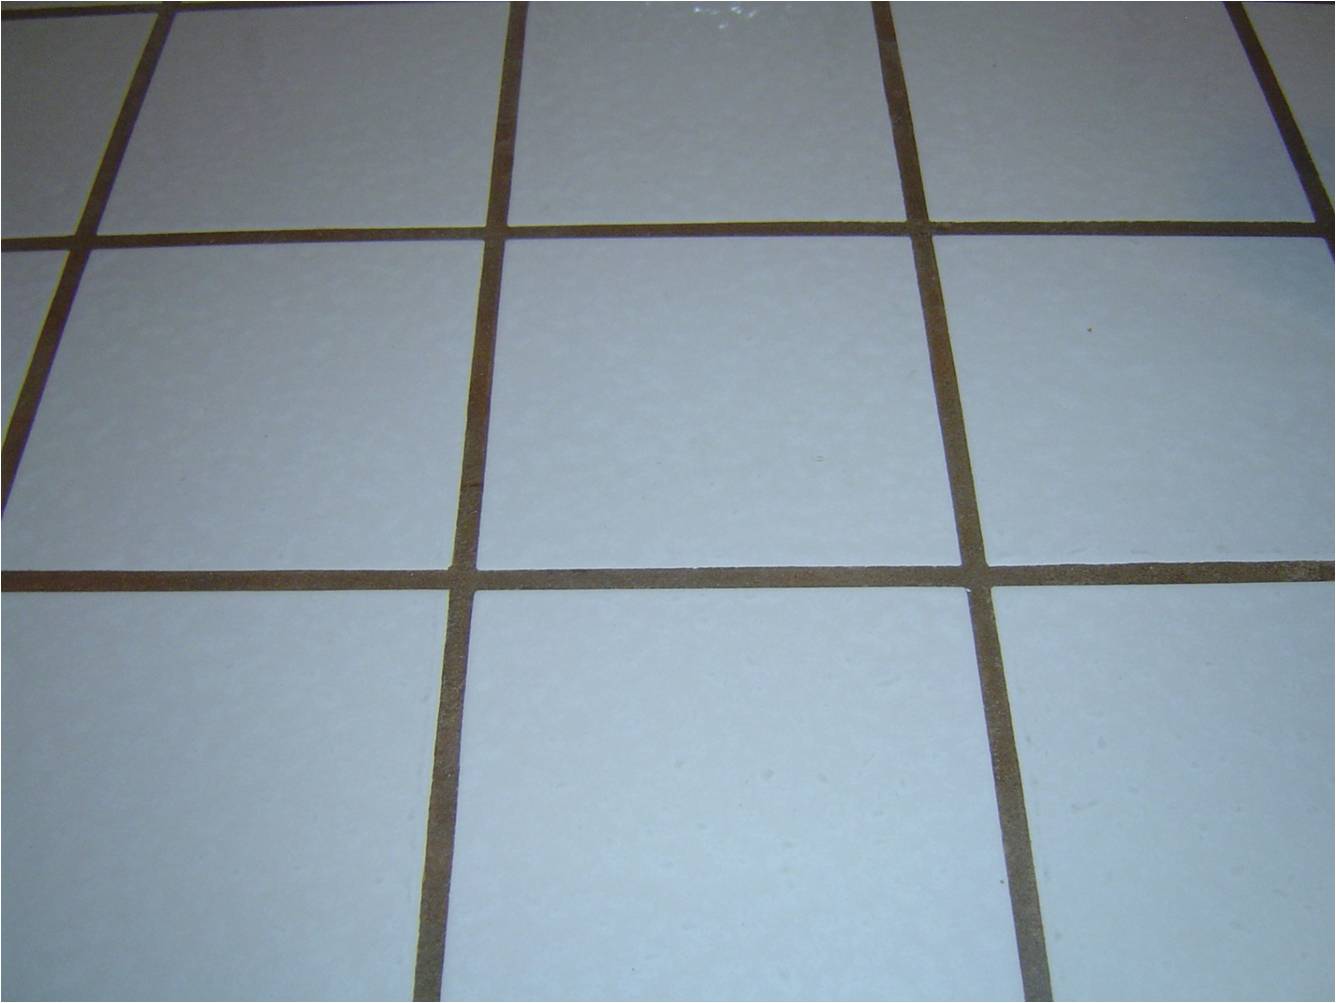
Grout, the material used to fill the gaps between tiles, plays a vital role in maintaining the stability and cleanliness of the tiled surface. Understanding how grout works will help you address any issues effectively.
Image by Freepik

II. Preparing for Cleaning:
To make your tile and grout cleaning session more efficient, it’s crucial to gather the necessary tools and supplies beforehand. Here are some items you may need:
- Soft-bristle brush or toothbrush
- Mild detergent or specialized tile cleaner
- Microfiber cloth or mop
- Grout sealer (if applicable)
- Protective gloves and goggles
Before starting the cleaning process, perform a quick pre-cleaning preparation. This involves removing loose debris and dirt from the surface, ensuring a smoother and more effective cleaning experience.
III. Tile and Grout Cleaning Techniques:
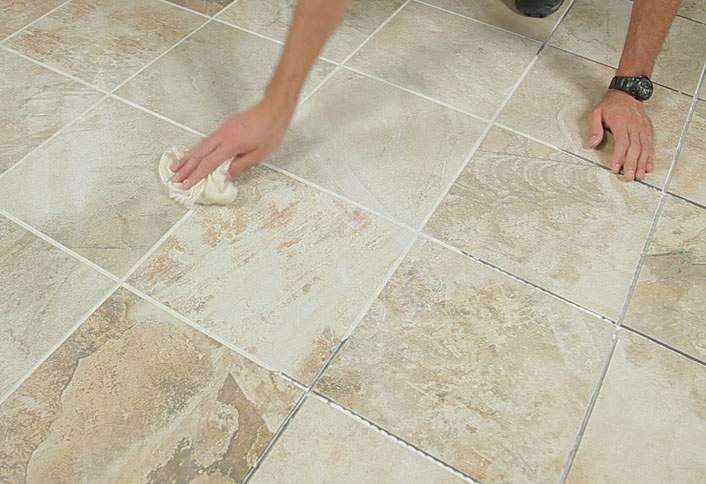
A. Technique 1: Basic Tile Cleaning:
- Start by sweeping or vacuuming the tiled area to remove loose dirt and debris.
- Dilute a mild detergent or specialized tile cleaner according to the instructions on the product.
- Apply the cleaning solution to the tiles and scrub gently using a soft-bristle brush or toothbrush.
- Scrub the tiles with clean water to remove any residue.
- Dry the surface with a microfiber cloth or allow it to air dry.
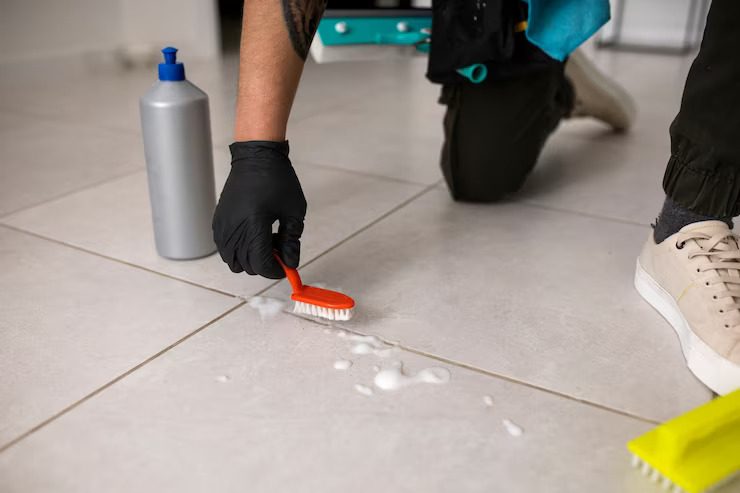
B. Technique 2: Deep Cleaning Grout:
- Combine baking soda and water until you reach a thick paste.
- Apply the paste to the grout lines and scrub vigorously using a toothbrush or small brush.
- Let the paste sit on the grout for about 10-15 minutes to allow it to penetrate.
- Scrub the grout again and rinse with clean water to remove the paste and dirt.
- For stubborn stains, consider using a specialized grout cleaner or hydrogen peroxide. Follow the product instructions carefully.
C. Technique 3: Natural Cleaning Solutions:
- To make a vinegar and water solution, combine equal parts white vinegar and water in a spray bottle. Spray the solution onto the tiles and grout, let it sit for a few minutes, then scrub and rinse.
- Baking soda and hydrogen peroxide paste: Create a paste by mixing baking soda and hydrogen peroxide. Apply the paste to the tiles and grout, scrub gently, and rinse thoroughly.
- Lemon juice: Squeeze fresh lemon juice onto the surface, let it sit for a few minutes, then scrub and rinse. Lemon juice helps remove stains and leaves a refreshing scent.
D. Technique 4: Steam Cleaning:
- Use a steam cleaner specifically designed for tile and grout cleaning.
- To fill the steam cleaner with water, follow the instructions provided by the manufacturer.
- Allow the steam cleaner to heat up and produce steam.
- Guide the steam cleaner across the tiles and grout lines, focusing on one section at a time.
- Wipe away any excess moisture with a microfiber cloth or mop.
IV. Maintaining Tile and Grout:
To ensure your tiles and grout stay clean and sparkling, follow these maintenance tips:
- Regularly sweep or vacuum the floor to remove loose dirt and prevent it from settling into the grout lines.
- Wipe up spills promptly to prevent stains and discoloration.
- Use a pH-neutral cleaner specifically formulated for tiles to avoid damage.
- Apply a grout sealer every year or as recommended by the manufacturer to protect against stains and moisture penetration.
- Avoid using abrasive materials or harsh chemicals that can damage the tiles or grout.
Conclusion:
this ultimate DIY Tile and Grout Cleaning Guide guide has equipped you with valuable insights and techniques for tile and grout cleaning. By implementing these tips, you can achieve sparkling floors that enhance the beauty of your living spaces. Start your cleaning journey today and enjoy the transformative results!